Pages

Saturday, October 15, 2011

Boo-tastic!


Adam and I LOVE Halloween.
It is our second favorite holiday, Christmas being our most favorite holiday. We really get into the holiday spirit and have always loved getting into costume and decorating our place.
This year we focused more on the outside of the house and tried to make a big statement without a lot of money.
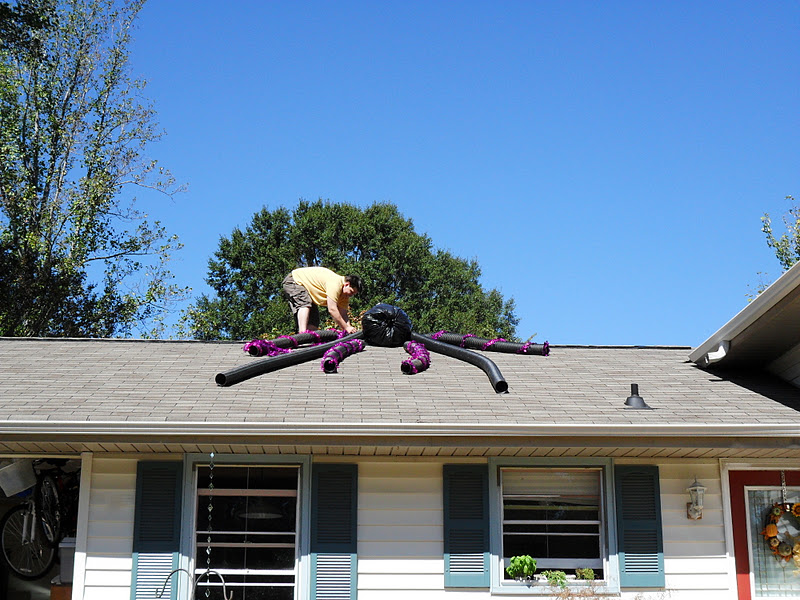
I had an idea to put a giant spider on the roof, but when I looked for giant spiders in stores they were all too small, too expensive and too realistic (I imagined a GIANT cute fuzzy spider). So I decided to make our own spider. 
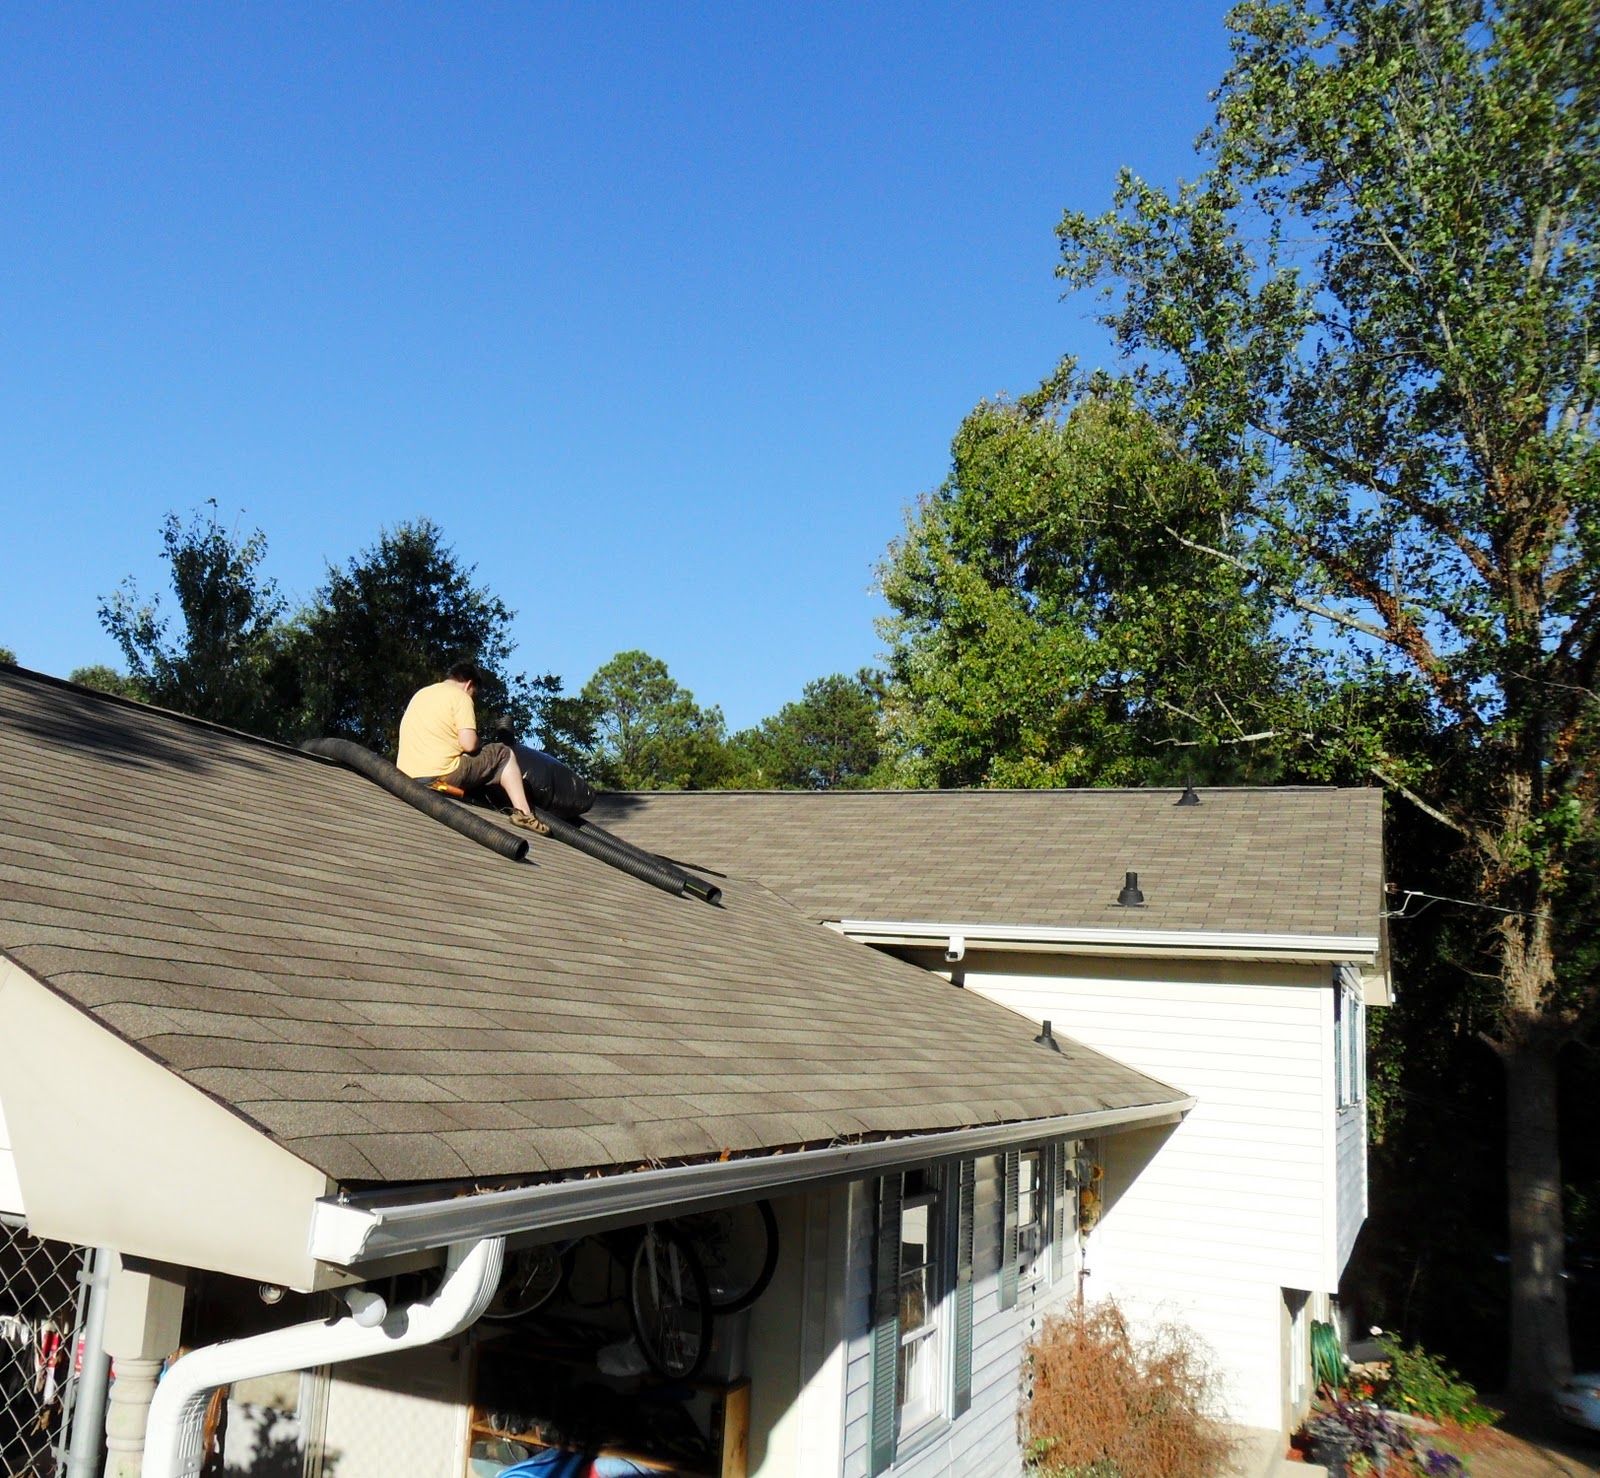
My first thought was to sew a spider.... Then I realized, ME, sewing. Haha. That wasn't going to work. Then, Adam came up with the idea of using trash bags filled with leaves and for the legs we could use the left over corrugated pipe we had. It was BRILLIANT! I loved it, but when we stepped back it just looked like trash on our roof, so I thought why not use some of my craft supplies to cutesy it up.

I found a butt-load of purple tinsel garland and a roll of purple ribbon. Adam wrapped the tinsel around the legs and the ribbon around the body of the spider.
Then we headed to Wally world (walmart) and picked up a bag of styrofoam balls. I used left over sample paint from our front door to paint them red and glitter that I already had in my craft stash. Adam hot glued the eyeballs and attached the spider's head to the body.
It looked Awesome! It was better than what I had imagined.

Then Adam brought down our box of Halloween decor from the attic and we decorated the rest of the house. I might have mentioned here that we like classy and upscale decor.. no blow up Halloween decor. Well, we bought a blow up Halloween decoration! Yep, we're just letting it all hang out this year! And I totally don't care if it's a total cheese fest. We are having so much more fun this year.

We hope all of you are having a excellent Autumn! Happy Halloween!


I replaced the Autumn wreath with something spookier..
I made this wreath a few years ago. I leave it up from late August till after Thanksgiving (excluding October)




I made this wreath a few years ago. It's one of two Halloween wreaths I've made.
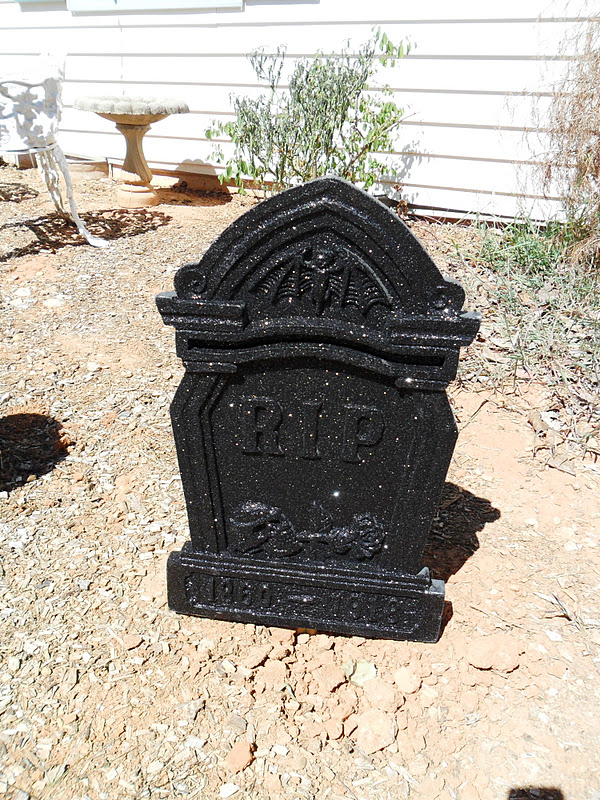




This little guy is spookily hovering over Adam. Ooh, creepy.


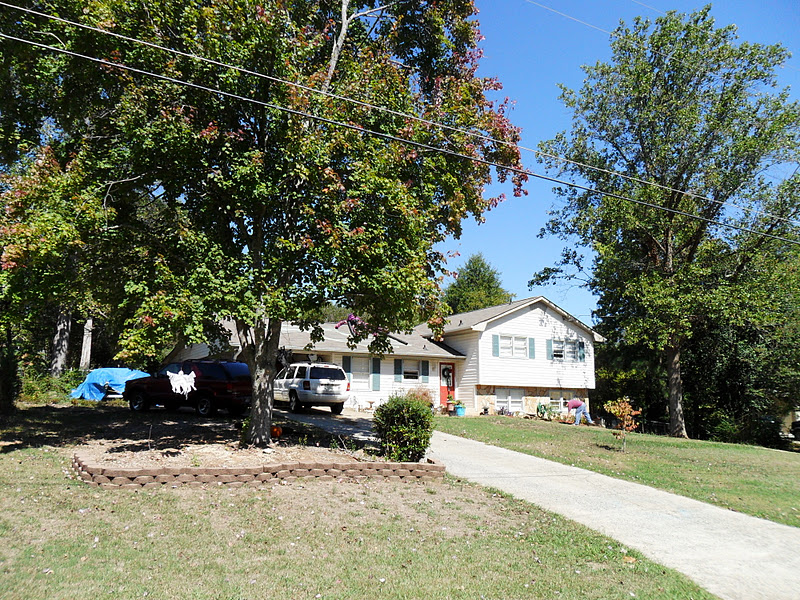
This was my attempt at making the front look better. Haha.


Friday, September 23, 2011

What You Missed While I Was Gone.

I might have jumped off the proverbial blogger cliff, but I didn't stop for a second in the real world. So here are a few things you may have missed while I was gone.

I alluded to outdoor change in this blog post, but never got around to telling you what we did.
We bought retaining wall bricks or stones (what-ev) and we Adam dug around the tree in our front yard and stacked 'em up. Looks ten times better, never mind the fact that we ran out of money steam and didn't complete the backside of the tree mound. From the front it looks AWESOME. Yeah. pretty exciting stuff. So exciting in fact that we decided to do the same thing to the front (in front of the basement windows) and around our walkway to the front door.
This will have to come next year I think.. we've already moved on. Darn that ADD!  Can't see anything through to fruition. (I think that might have been written on a report card once in my life..I had a bit of deja vu writing that last sentence.)

Before (when we first saw the house): 


Adam working hard on the project:


The AWESOME After: 


 Yep. There you have it. We've done a few more things around the house while I was gone. I have to update you on that later. More to come!


Thursday, September 22, 2011

Autumn Already, Where Did The Time Go?


Sorry I have been away for so long. School sort of sucks the will-to-blog right out of me. But, I'm back again. I have good news, I have again done excellent in school. Yes, I just did a virtual pat on the back...to myself. What can I say, I'm proud.

So I'm learning the basics of design and just finished a class on Layout. So if you don't know what that means (mom) here it is simplified: Basically it is the arrangement of 'whatever' to a pleasing affect.

Example: A magazine has words (articles) and pictures arranged on a piece of paper. The layout of these words and pictures is very important, so the viewer/reader can understand what an article is about. It also will grab the reader's attention and entice them to read the article (or look at the pictures). The layout must be clear and easy to read.

Another example would be website layout: A person or client might go to a company's website to purchase something or to find directions/ information. If the website is cluttered and the client doesn't know where the information is or cannot find the product, then most likely they will leave the site and that company has lost business. The worst possible layout design for a website would be where there isn't a logo or company name clearly labeled:  the client would open the website up, but the site isn't clear whether or not this is even the right company.

The class was fun and informative, but made me think about my (neglected) blog and I wondered if I would be able to use my new knowledge of layout software on it. Unfortunately I only know the design side and haven't learned how to implement it yet. Since I'm impatient I've recently started looking into how to change the design of my blog, only to discover that I know... NOTHING! Ahh.
It seems that I know less than the average person. Which is shocking to me since I thought I knew a little bit more than the average joe. Apparently to make a blog or website better you must use HTML or CSS... ( of course I had to look up what the heck those things mean). I now know that HTML and CSS have something to do with the computer. ...yep thats all.
I read wikipedia, blogs and googled my heart out only to understand a bunch of gobblety-gook that told me nothing about what it really was. All I understood was that it was hard to understand.
So I'm in a slow, very very slow, process of trying to understand coding. (which is what wikipedia told me HTML and CSS is, haha)
I've decided that I can't be the only person who is as clueless as I am, so I've decided to update what I learn through the process of changing my own blog. Hopefully it will help someone 'out there' who maybe needed it  wanted to know how to do it too.

Friday, May 13, 2011

Spring Has Sprung

Spring is here at Bright Little House! We've started planning our landscape and we are soo excited!
We are going to be adding retaining walls around the front and we will finally be adding much needed shrubs and flowers to the front yard. The backyard will be cleaned up and hopefully we can purchase some patio furniture.
I am going to be searching Craigslist.com and yard-sales for deals on the furniture.

Here are some retaining walls, we used these for ideas:


                                                  (unknown source)

                                                      (unknown source)

Of course I wish our walls will look like this, all grown in and lush:

(http://www.anchorblock.com/assets/ProductRotate/pd_windsor2.jpg)


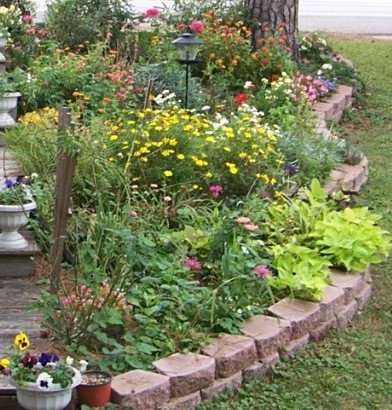
And these are some of the flower/shrub ideas we've had:


(http://www.gardensablaze.com/Landscaping/IslandBedPerennials2.jpg)

(source unknown)

I dream:

    (http://www.cleanme.us/wp-content/uploads/2011/04/perennial-plants.jpg)

         (source unknown)

(http://www.marjoriesgarden.com/images/5.jpg)

                              (unknown source)


So here's a look at where we began:

The Before:

The During, (last year):

This week:

(unfortunately those bushes we transplanted from elsewhere didn't live once the Georgia sun started to get summer hot...so we'll have to buy more bushes for the front.)
Soo..
Next up....The beautiful AFTER...

Saturday, April 2, 2011

Hanging Up

We've finally have blinds! Yay. We knew we would buy nice wooden blinds eventually, but since we still have to replace all the windows in the house, we decided buying expensive blinds first wouldn't be the best choice for us. We know we are widening a few of them so they wouldn't be the same size.
But, we needed something up for privacy and to let the light in since the curtains darken the rooms and I can't stand it. I like light! A lot!
So, Adam had a great idea, while at Home Depo he noticed temporary blinds on sale for .10 cents.

(Temporary blinds are the blinds the store gives you to put up while you wait for your order of custom blinds to come in. They are a vinyl- like material and they stick to your wall, like a sticker.)
He bought a bunch of them. One or two for each window.
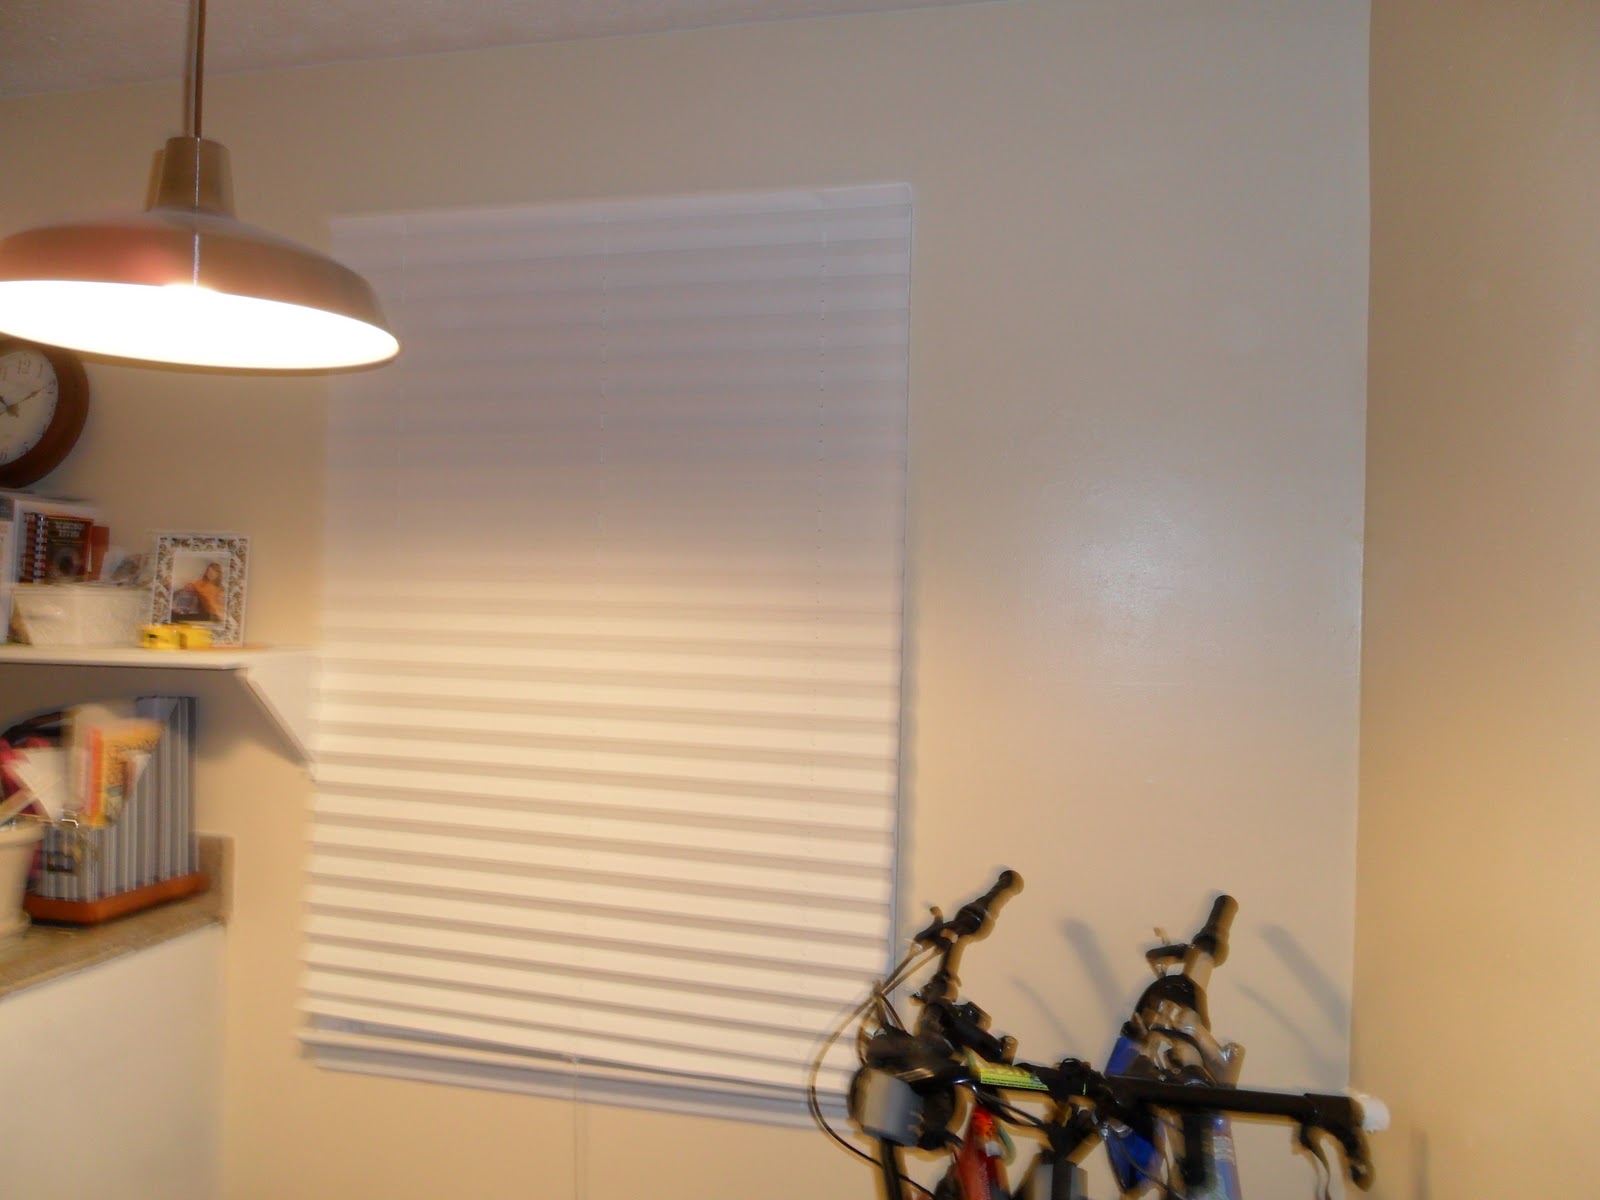
Temp blinds look very nice (compared to sheets :-D) and they filter light beautifully. Best cheap idea yet. We love them and I'm so happy Adam bought them. It really helped our house feel more complete. We were both getting sick of the multitude of curtains. I think curtains should be for beauty and a little function, but not the only thing on the window. It gets to be too much. We felt like we were living in a cave enshrouded with fabric. If we wanted to open a window we had to dig through layers of fabric.

It is very simple to install temporary blinds. You just measure your window, then measure your blinds and cut off any remaining length:


Then you stick-em to the wall.

After we installed the blinds in the kitchen we both stepped back and found that it didn't look right.
I had the idea that perhaps they should be hung higher up- like to the ceiling- and it worked! The blinds looked much better.


Then the next thing on our list was to hang the Target frames that I saved up for, but never found the time to hang. I fell in love with these simple white frames and I knew just where I wanted them.
We taped the paper backing to the wall first for placement (to make sure it was where we wanted them before we put holes in the wall):

Then after we hung the frames, I filled them with artwork from school. I still have to recieve another piece of artwork from school to fill the bottom frame in the picture below, so in this picture it is just the cardboard back to the fram showing:
After learning that it might be awhile before I get my artwork back (it is on display in the hallways at school) I decided to put something pretty in its place. I then cut a piece of fabric to fit inside the frame and hung it up:

I actually LOVE it! I just might have to hang it up else where when I have my artwork back.
In this picture below I have switched the bottom and top frames, so the fabric is on the top:

I really love this wallpaper from Anthropologie, but I can only take small doses of so much color, so I'm thinking about hanging some of the wallpaper here behind the shelves (once we get around to adding them..so far we only have one shelf up!) for a pop of color. You can see a sample of it here on the wall behind the cookbooks:

AND we finally hung up the diningroom mirror. Although it isn't as big as I had hoped it would be, I'll find some way to fill in around it. Maybe I'll hang two giant black frames on either side of the gilded mirror? We'll see...